【Hexo】01-Hexo和Next初始化
Hexo、Next初始化
hexo -v: 5.4.0
hexo-cli: 4.3.0
next -v: 8.8.0
Hexo安装及初始化

npm install hexo-cli -g安装hexo
hexo init zsq-blog初始化Hexo博客项目
项目路径:

cd blog、npm install安装依赖的包
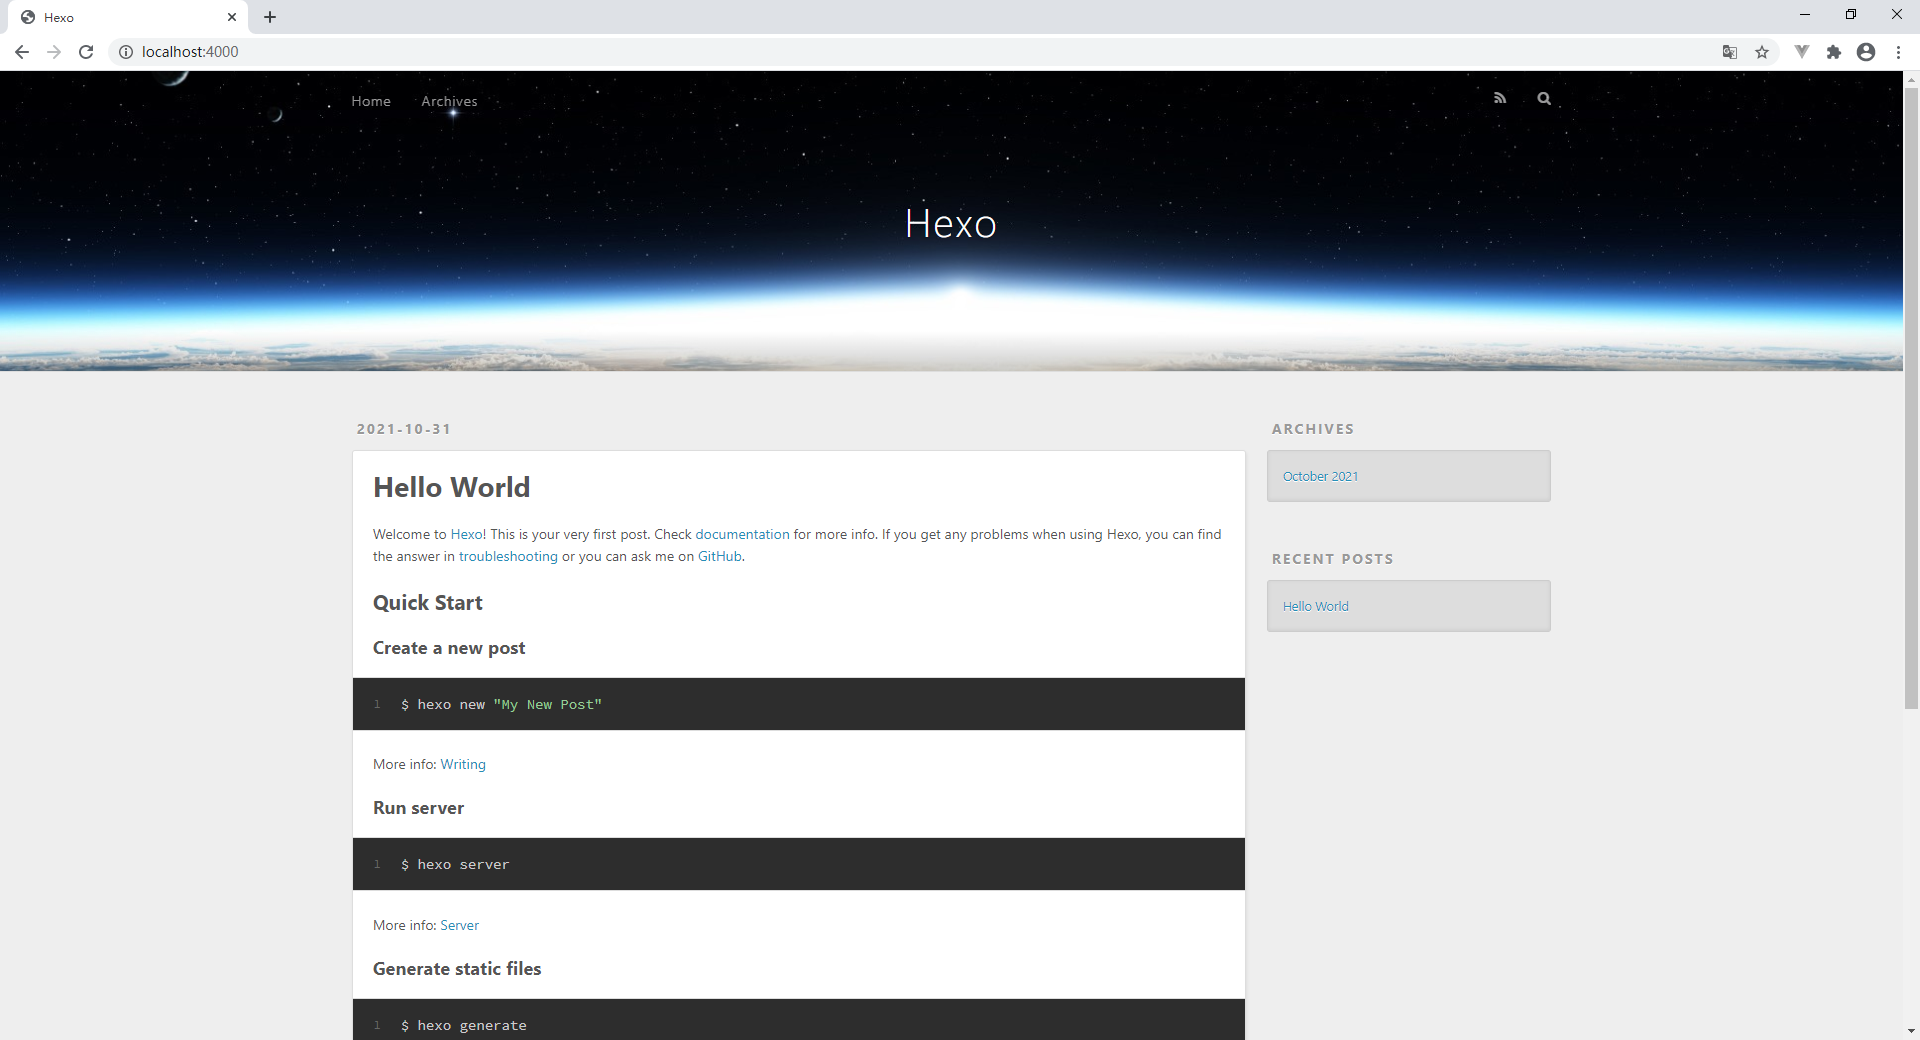
hexo server启动项目
localhost:4000访问主页
Hexo指令
| 指令 | 说明 |
|---|---|
| hexo server / hexo s | 启动服务,端口默认为4000 |
| hexo s -p 80 | 启动服务,指定端口 |
| hexo generate / hexo g | 生成静态文件 |
| hexo deploy / hexo d | 部署到远程站点 |
| hexo new page <name> | 在resoure目录下生成/name/index.md |
Hexo基本配置
/_config.ymlHexo博客的配置文件
博客基本信息
1 | # Site |
Next主题安装(8.8.0)
Github地址(https://github.com/next-theme/hexo-theme-next)提示,可以选择最新版本。下面安装的是8.8.0

在该网页https://github.com/next-theme/hexo-theme-next/releases/tag/v8.8.0下载NexT主题压缩包

解压到
/blog/theme文件夹下,并改文件夹名为next
修改全局配置
/blog/_config.yml下的theme1
2
3
4# Extensions
## Plugins: https://hexo.io/plugins/
## Themes: https://hexo.io/themes/
theme: next
cp themes/next/_config.yml _config.next.yml将配置文件复制到项目根路径

hexo s -p 80启动服务并访问
-------------本文结束感谢您的阅读-------------
相关文章